
Containers changed the way we develop, package, and distribute applications. This helped teams accelerate development and ensure their code worked consistently across different environments and infrastructures. To a large extent, this enabled write once and run anywhere. Docker made this easy by providing tools to create, manage, and package application code and dependencies as images. We could run a container instance from that image wherever a container runtime exists. Standardizing image and runtime formats helped ensure we could take an image and run it anywhere and not worry about the underlying infrastructure. This also led to the proliferation of microservices-based application architectures, where an application comprises several services running within containers to deliver the expected functionality. Most cloud-native and modern application architectures use microservices to implement the necessary functionality. When developing an application with multiple microservice dependencies, a developer must ensure the development environment is suitably set up to handle all required dependencies.
Visual Studio Code and many other IDEs offer a way to use containers as local development environments. This ensures that the application code and code dependencies are handled consistently across development, testing, and production environments. Using dev containers for a single container application or service is straightforward.
This article uses Docker desktop and Windows Subsystem for Linux 2 to run containers on a Windows PC. Other container engines, such as Podman, can also be used.
We need to install the VS Code dev containers extension to get started. Once the extension is installed, we can open the code repository and create a dev container configuration file. We can follow the options within the command palette (F1 or CTRL+SHIFT+P) or write a configuration file. VS Code offers intelligence when authoring a dev container configuration file.
Start by creating a devcontainer folder at the root of the code repository.
$ mkdir .devcontainer
$ touch .devcontainer/devcontainer.json
The dev container configuration files use JSON format. We can specify how the container should be created in different ways. You can either use an image or create an image from a Dockerfile. In this example, we will use an image from the Microsoft container registry.
{
	"image": "mcr.microsoft.com/vscode/devcontainers/base:jammy",
	"customizations": {
		"vscode": {
			"settings": {},
			"extensions": [
				"golang.go"
			]
		}
	},
	"features": {
		"ghcr.io/devcontainers/features/go:1": {
            		"version": "latest"
		}
	},
	"remoteUser": "vscode"
}
The customizations section of the configuration file specifies properties specific to VS Code, such as extensions. In this example, the Go language VS Code extension is specified. The features section specifies the additional features that should be installed in the container. This example specifies the Go language binaries to be installed. We can open this code repository in a dev container by selecting the “Dev containers: Reopen in container” option from the command palette.

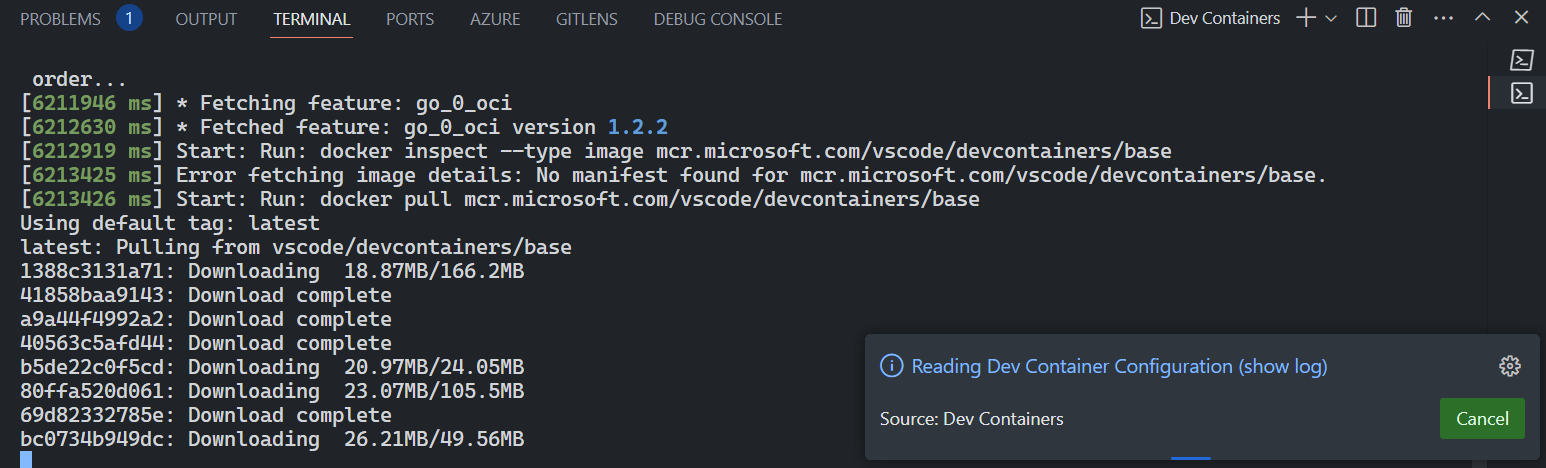
This will trigger pulling the container image from the registry and creating a container.
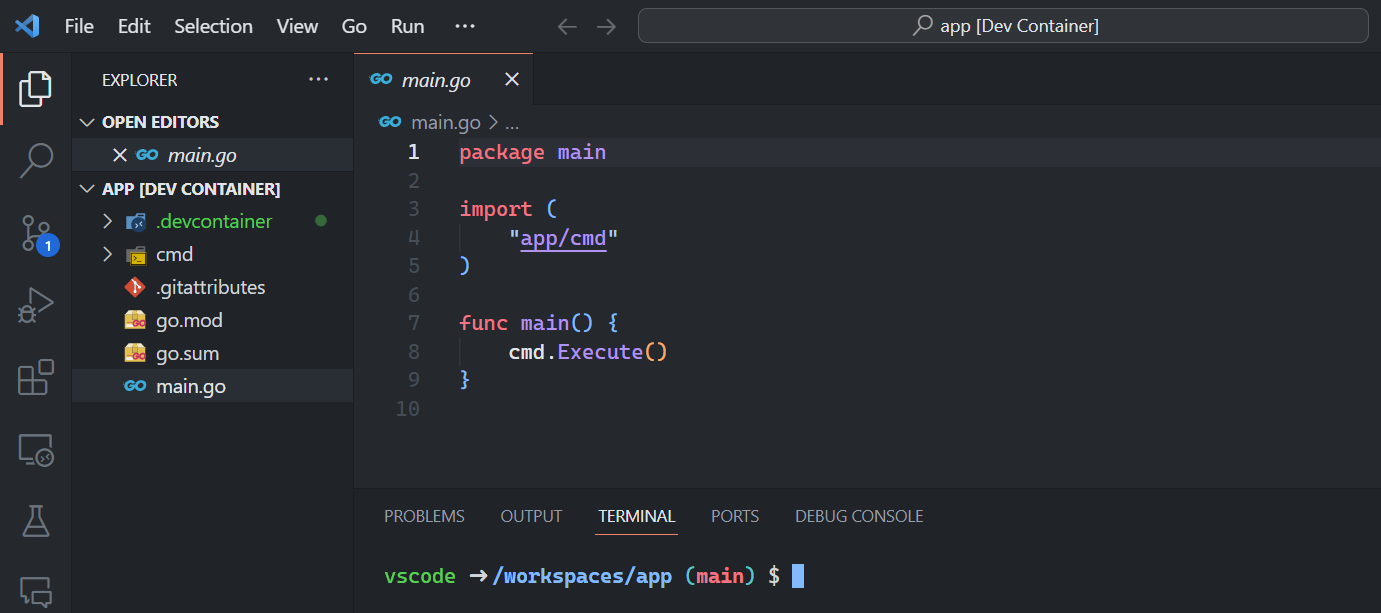
Once the container is created, we can use the development environment as if it is local.
When the application development is complete, we can use a CI/CD pipeline to build the application into whatever the delivery target is – a binary or a container image – and distribute it.
As mentioned, using dev containers for single-container application development is straightforward. However, the modern applications are not that simple. Cloud-native applications comprise many microservices, and developing such an application requires ensuring the dependent services are also available within the development environment. Fortunately, VS Code dev containers support using Docker Compose for multi-container development environments.
Multi-container development environment
To understand how to create a multi-container development environment, let’s first create the necessary folder structure and placeholder files.
$ mkdir .devcontainer
$ mkdir .devcontainer/go
$ mkdir .devcontainer/go/devcontainer.json
$ mkdir .devcontainer/mysql
$ touch .devcontainer/mysql/decontainer.json
$ mkdir src
$ touch src/main.go
$ touch docker-compose.yml
As the above commands suggest, we will create a web application using the Go language and mySQL DB stack for this example. Let us start by authoring the docker compose file first.
version: '3'
services:
  app:
    image: mcr.microsoft.com/devcontainers/base:jammy
    container_name: app
    restart: unless-stopped
    volumes:
      - .:/workspace:cached
    command: sleep infinity
    networks:
      - servicenet
    links:
      - "db:database"

  db:
    image: mysql:latest
    container_name: db
    ports:
      - "13306:3306"
    restart: unless-stopped
    volumes:
      - app_data:/var/lib/mysql
    command: --default-authentication-plugin=mysql_native_password
    environment:
      MYSQL_ROOT_PASSWORD: vscode
      MYSQL_USER: vscode
      MYSQL_PASSWORD: vscode
    networks:
      - servicenet
volumes:
    app_data:

networks:
  servicenet:
In this compose file, we have two services. The first one is a Go application. It uses the same image as the earlier single container example. Using the links element, we specify a dependency on the second container, the MySQL database. Both these containers connect to the same network called servicenet. The db container is configured to provision a volume (app_data) for the database backend. Using the environment element, we specify the password for the MySQL root account and create a second account used for connecting to the database from the Go application.
--default-authentication-plugin=mysql_native_passwordis not recommended in the production environment.
We now need to create the dev container configuration for both containers. Let us start with the Go container.
{
    "name": "app",
    "dockerComposeFile": ["../../docker-compose.yml"],
    "features": {
        "ghcr.io/devcontainers/features/go:1": {}
    },
    "service": "app",
    "shutdownAction": "stopCompose",
    "workspaceFolder": "/workspace/src",
    "remoteUser": "vscode",
    "customizations": {
        "vscode": {
            "extensions": [
                "golang.go",
                "ms-vscode.Go"
            ]
        }
    }
}
This is similar to the earlier single-container application example. Instead of using an image from the container registry, we use the docker compose file. Also, notice the workspaceFolder element. This maps the source code folder to the container once it runs. This is important because you need the app container as your development environment; all your source code files must be available.
The second container we need is a MySQL database container for the application.
{
    "name": "db",
    "dockerComposeFile": ["../../docker-compose.yml"],
    "service": "mysql",
    "shutdownAction": "none",
    "workspaceFolder": "/workspace/cached"
 }
This is much simpler. Once again, we reference the docker compose file within the repository. Once these files are in place, we can look at the sample Go application code that interacts with the MySQL database.
package main

import (
	"database/sql"
	"fmt"
	"log/slog"
	"os"
	"text/tabwriter"

	_ "github.com/go-sql-driver/mysql"
)

var dsn = fmt.Sprintf("%s:%s@tcp(%s:%d)/%s", "web", "pass", "db", 3306, "cnapp")

type task struct {
	ID     int
	Title  string
	Status string
}

func main() {
	slog.Info("Connecting to database", "connection string", dsn)
	db, err := openDB(dsn)
	if err != nil {
		slog.Error("Error connecting to database: ", err)
	}
	defer db.Close()

	tasks := []task{}

	stmt := `SELECT id, title, status FROM tasks`
	rows, err := db.Query(stmt)
	if err != nil {
		slog.Error("Error querying database: ", err)
	}

	defer rows.Close()

	for rows.Next() {
		t := task{}
		err := rows.Scan(&t.ID, &t.Title, &t.Status)
		if err != nil {
			slog.Error("Error scanning row: ", err)
		}
		tasks = append(tasks, t)
	}

	if err = rows.Err(); err != nil {
		slog.Error("Error iterating rows: ", err)
	}

	w := tabwriter.NewWriter(os.Stdout, 0, 0, 1, ' ', tabwriter.AlignRight|tabwriter.Debug)
	fmt.Fprintln(w, "\nID\tTitle\tStatus")
	for _, t := range tasks {
		fmt.Fprintf(w, "%d\t%s\t%s\n", t.ID, t.Title, t.Status)
	}
	w.Flush()
}

func openDB(dsn string) (*sql.DB, error) {
	db, err := sql.Open("mysql", dsn)
	if err != nil {
		return nil, err
	}
	if err = db.Ping(); err != nil {
		return nil, err
	}
	return db, nil
}
The above example is only for demonstration purposes. In a real production environment, we would use an external configuration map to supply the database configuration to the application. In this Go application, we connect to the cnapp database and retrieve records from a table called tasks. Once the records are retrieved, we print the same using a tab writer.
To test this, you can use the “Dev containers: Reopen in container” option within the command palette to start the application stack. Once the remote VS Code instance is open, you can verify the Docker stack in the Docker Desktop application.
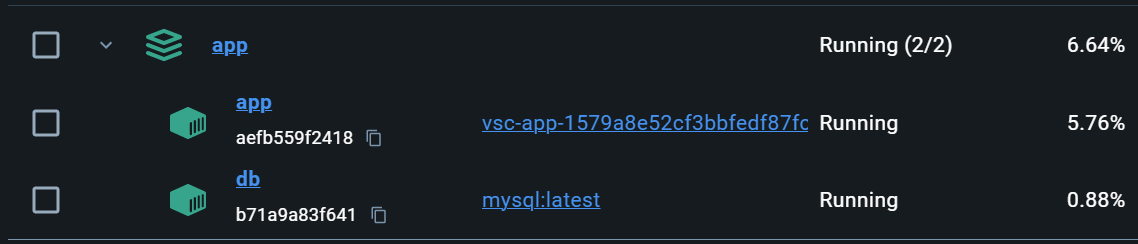
As we see here, both containers are in a running state. Also, within the VS Code instance, you can see that we are already connected to the Go application container. We can attach to the mysql container using the “Dev Containers: Attach to running container…” option in the command palette. This connects to the MySQL container as the root user. Once connected, we can create a database and table within the database and add sample records. The following SQL commands can be used for that.
CREATE DATABASE cnapp CHARACTER SET utf8mb4 COLLATE utf8mb4_unicode_ci;

USE cnapp;

CREATE TABLE tasks (
    id INTEGER NOT NULL PRIMARY KEY AUTO_INCREMENT,
    title VARCHAR(100) NOT NULL,
    status VARCHAR(100) NOT NULL
);

INSERT INTO tasks (title, status) VALUES (
    'Grocery shopping',
    'pending'
);

INSERT INTO tasks (title, status) VALUES (
    'Read book 1',
    'complete'
);

INSERT INTO tasks (title, status) VALUES (
    'Car service',
    'complete'
);

INSERT INTO tasks (title, status) VALUES (
    'Email to manager',
    'pending'
);

CREATE USER 'web';
GRANT SELECT, INSERT, UPDATE, DELETE ON cnapp.* TO 'web';
ALTER USER 'web' IDENTIFIED BY 'pass';
Once the database is prepared, we can run the Go application within the app container.
vscode ➜ /workspace/src $ go run main.go
2024/02/03 14:56:19 INFO Connecting to database "connection string"=web:pass@tcp(db:3306)/cnapp

 ID|            Title|Status
  1| Grocery shopping|pending
  2|      Read book 1|complete
  3|      Car service|complete
  4| Email to manager|pending
Using the knowledge we gained experimenting with this stack, we can easily add more services to the same docker compose specification.